

This is one of those projects where you already know what the outcome will be – The upgrade to Linn’s new Sub-chassis the Keel SE, lifts the lid on more music in a delightful way. This customer has brought in his 1991 LP12 to us before and we upgraded it to the Keel Sub-chassis, Radikal Motor/PSU and Urika phono stage several years ago. Now he has asked us to upgrade it again to the latest Keel SE and upgrade his Radikal with the Utopik PSU.
The first stage shown here with pictures for the curious, is swapping out his old Keel for the new Keel SE:
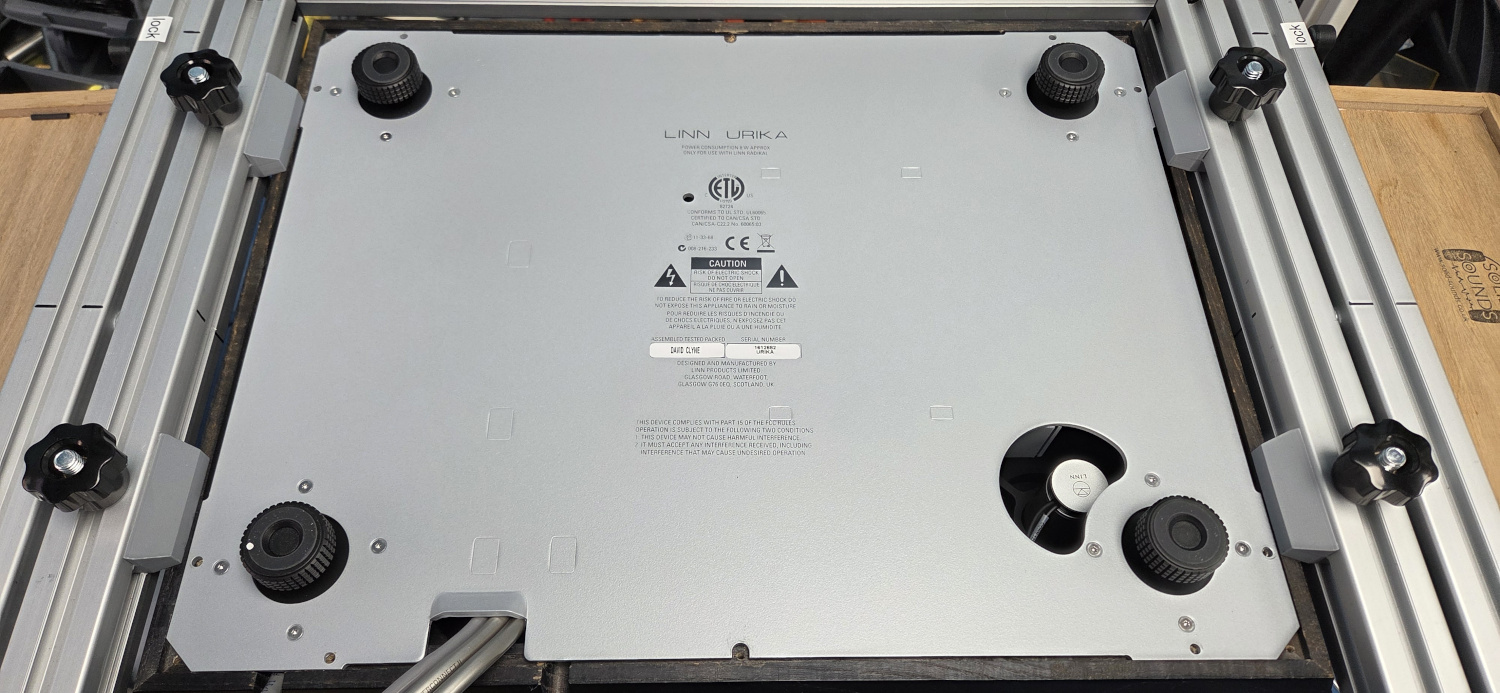 First tasks are to remove the inner platter and drain the old oil – the with the turntable upside down it’s easy to remove the Urika.
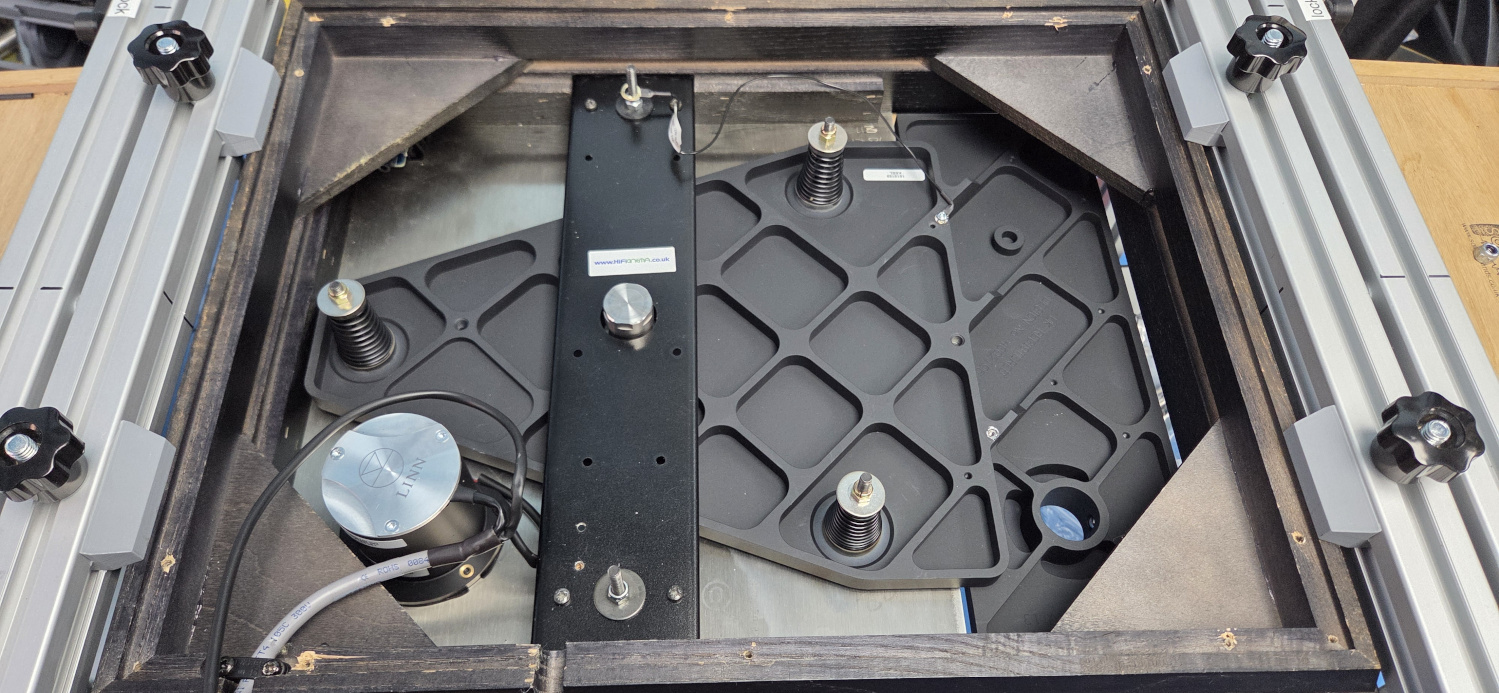 With the Urika out of the way, the Ekos SE tonearm is carefully removed and put out of the way.
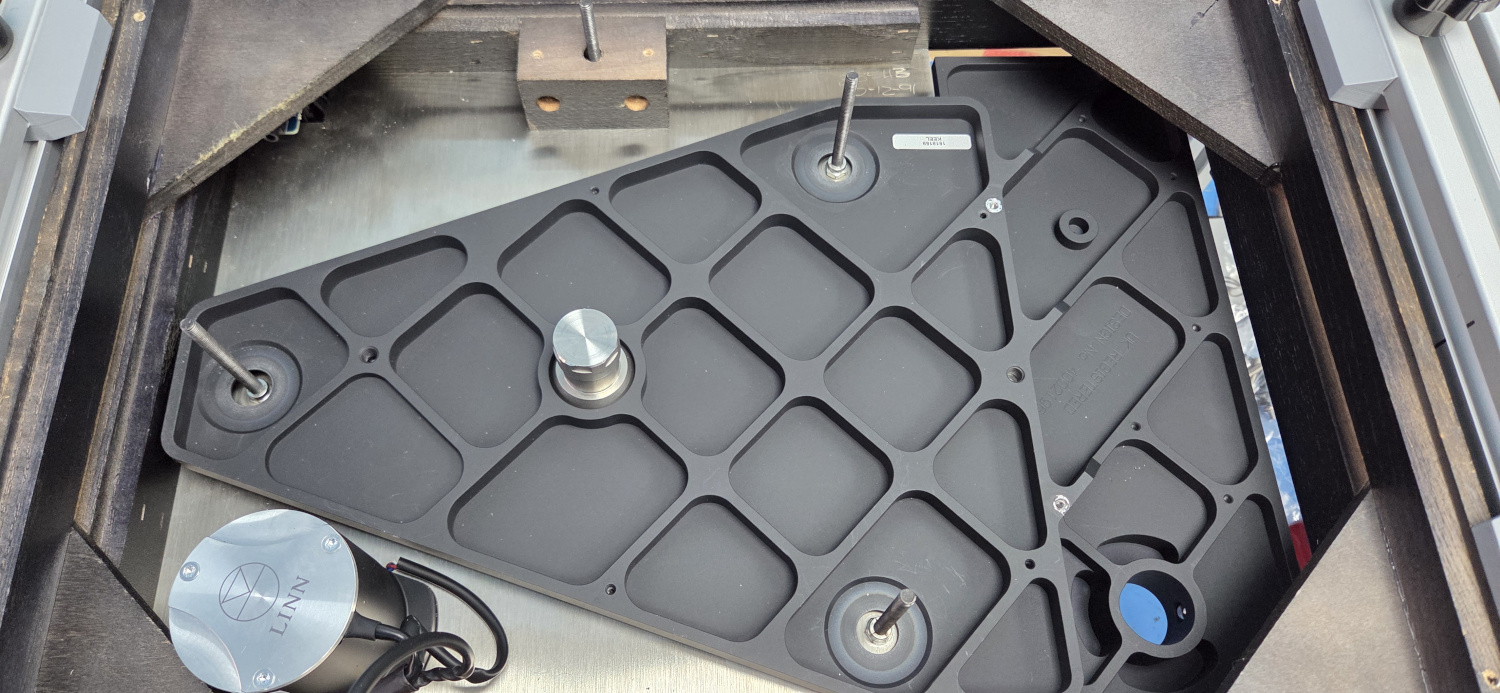 The Wiring strap (cross-brace) and suspension springs and washers can then be removed freeing up the Keel which is carefully lifted and slid out.
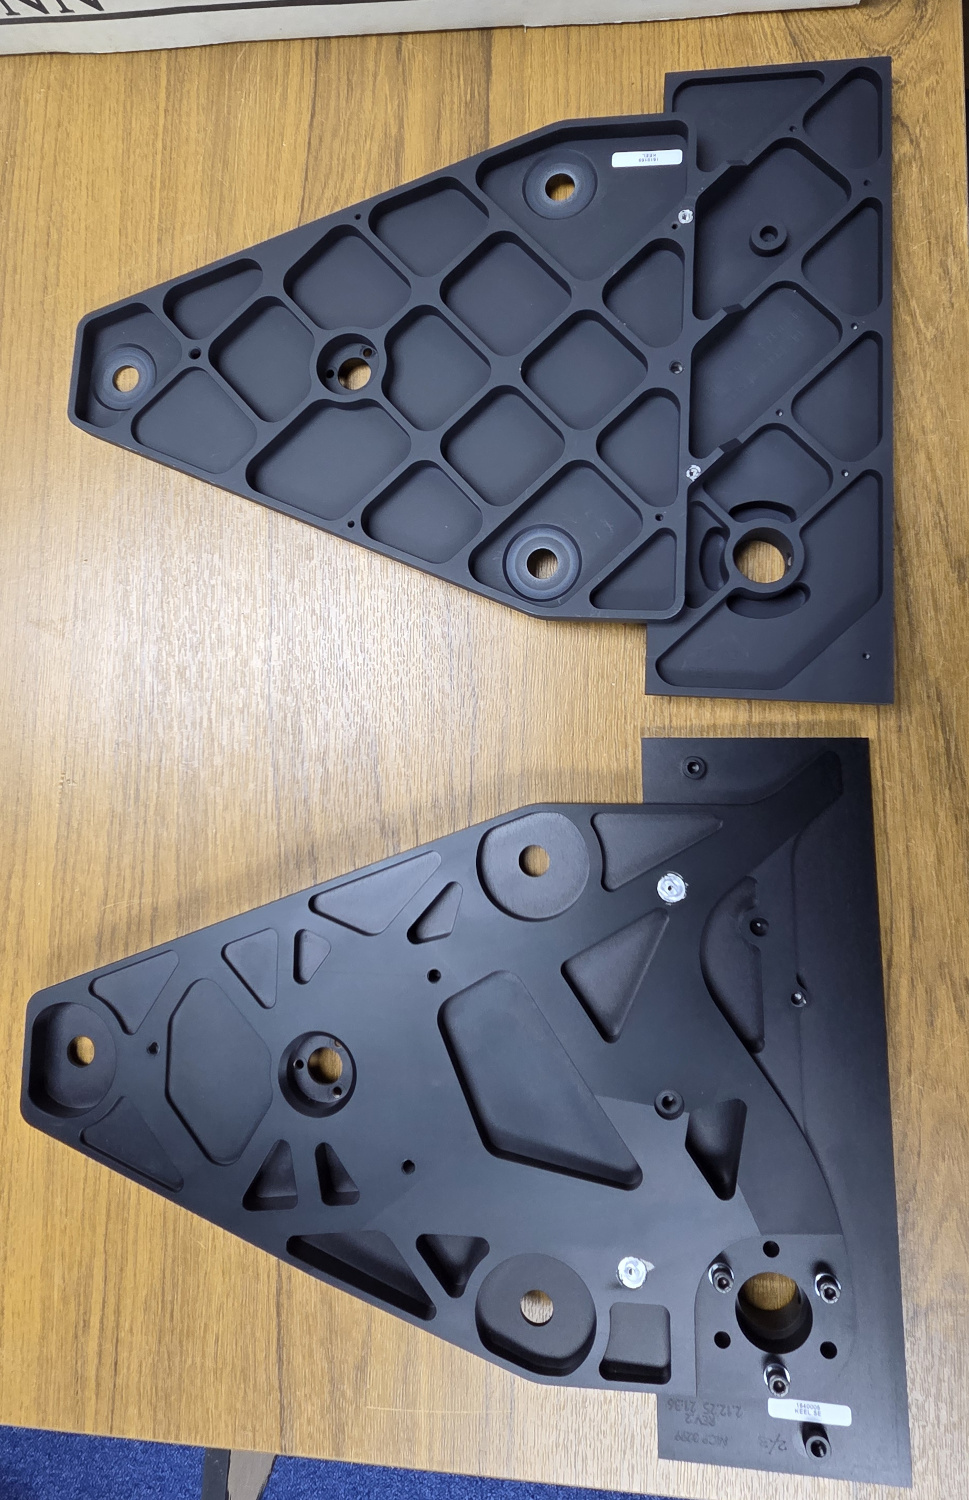 The differences between the Keel and Keel SE can clearly be seen when compared side-by side – from the top they look very similar, however the Keel SE is roughly twice the mass of the original Keel.
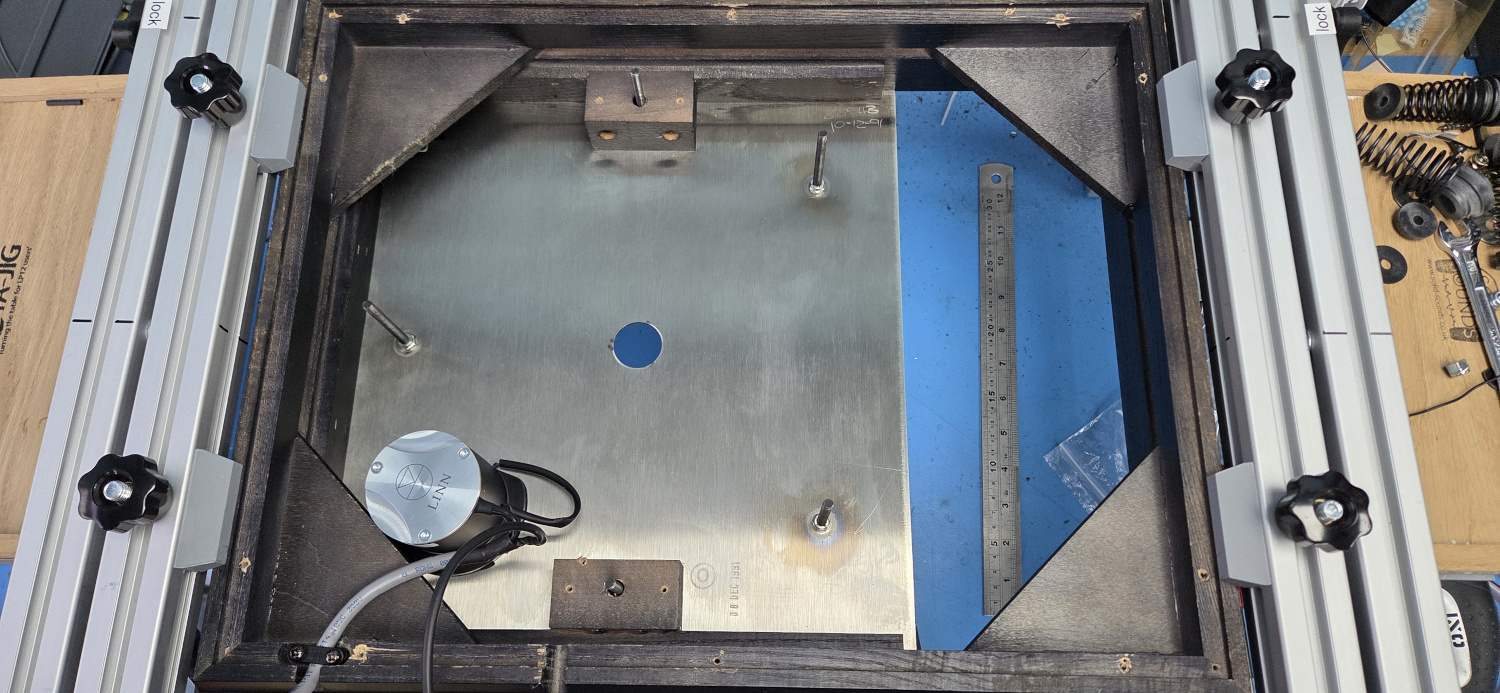
The Insides of the LP12 can be given a quick clean ready for the new Keel SE sub-chassis.
 The Karousel bearing has the old oil flushed out and is fitted to the new Keel SE – carefully getting the torque right so as not to damage the bearing or the Keel SE. The Keel SE and Bearing can then be lowered into the LP12 ready for suspension bushes and springs.
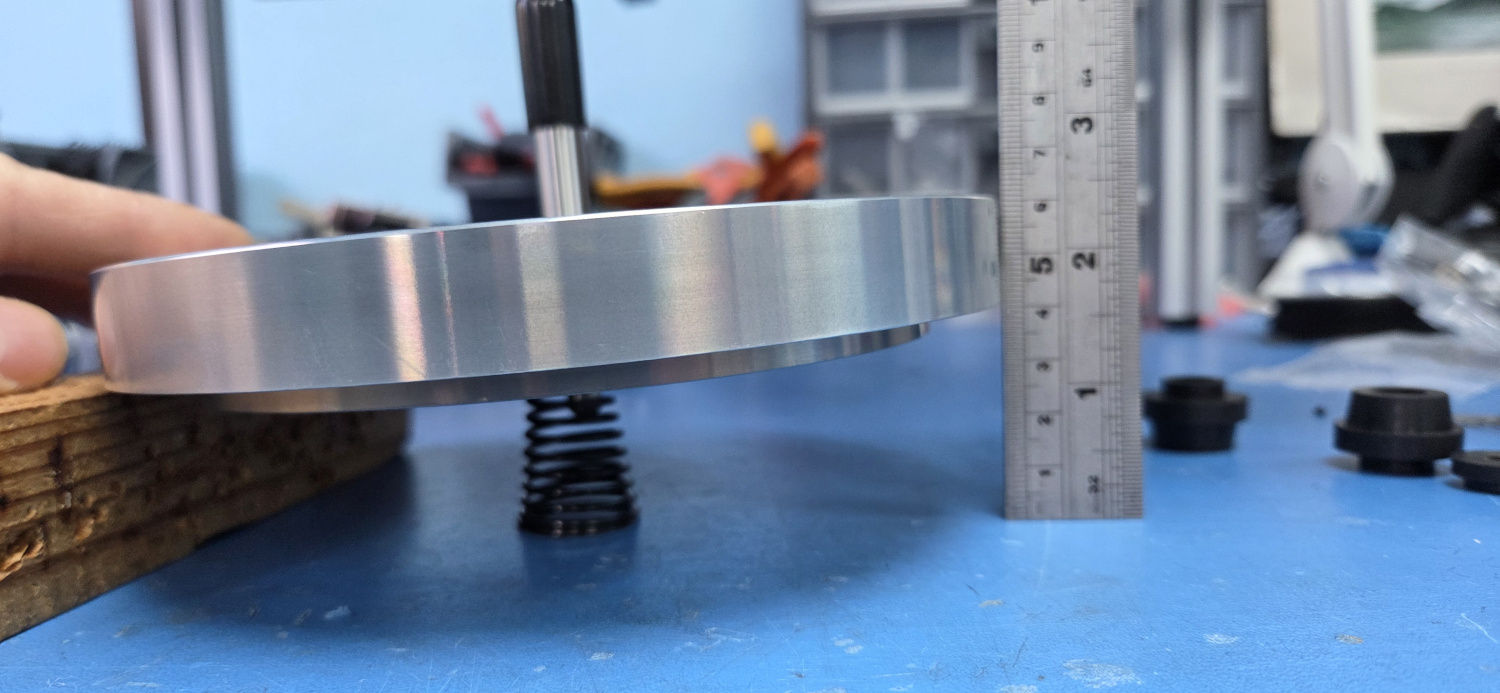 I test each spring as they vary slightly in modulus – putting the strongest spring closest to the tonearm – I find this makes it easier to adjust the suspension later on.
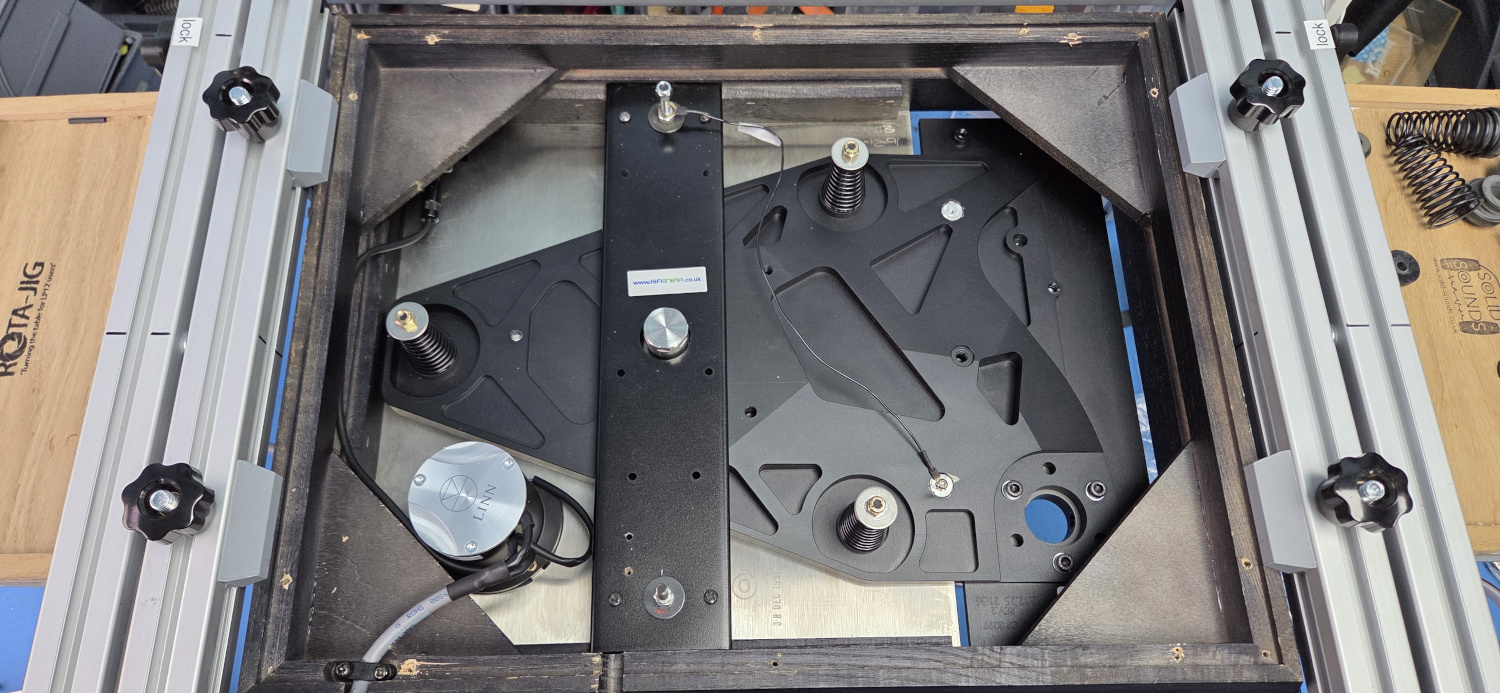 With the suspension bushes and springs in place, the wiring strap (cross-brace) can be re-fitted.
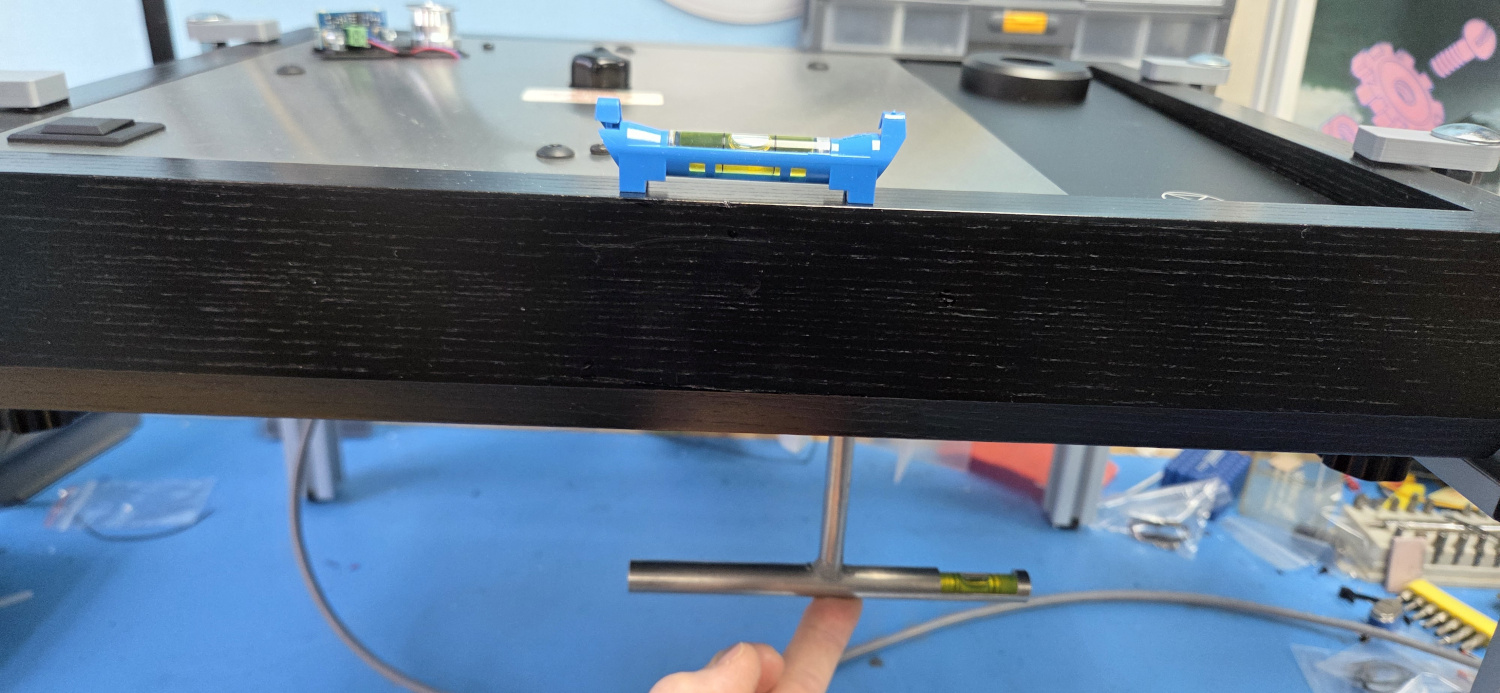 The suspension bolts are checked to make sure they are perpendicular to the top-plate (Linn has a special tool for this)
 With the LP12 the right way up again, the Karousel bearing can have new oil, the inner platter, drive belt and outer platter can be fitted along with the Tonearm, adjusting the suspension springs so the sub-chassis and platter are floating level with the plinth. The springs are settled and rotated at this stage so that the moving sub-platter assembly is free to bounce – aiming for a nice smooth vertical motion – any jiggly side-to-side stuff is undesirable as it affects the playback. This is a bit fiddly with the Urika, as this has to be connected to the bottom of the tonearm for the complete moving assembly to be adjusted.
 The arm position is checked for stylus alignment, overhang and Vertical Tracking Angle along with tracking force. With the EKOS SE and Keel SE, this is pretty much sorted by the geometry of the arm head-shell and mounting of the arm collar.
 The Urika baseplate can now be screwed in place and the turntable is ready for auditioning – a final check we always do to make sure the improvements are what we expect.